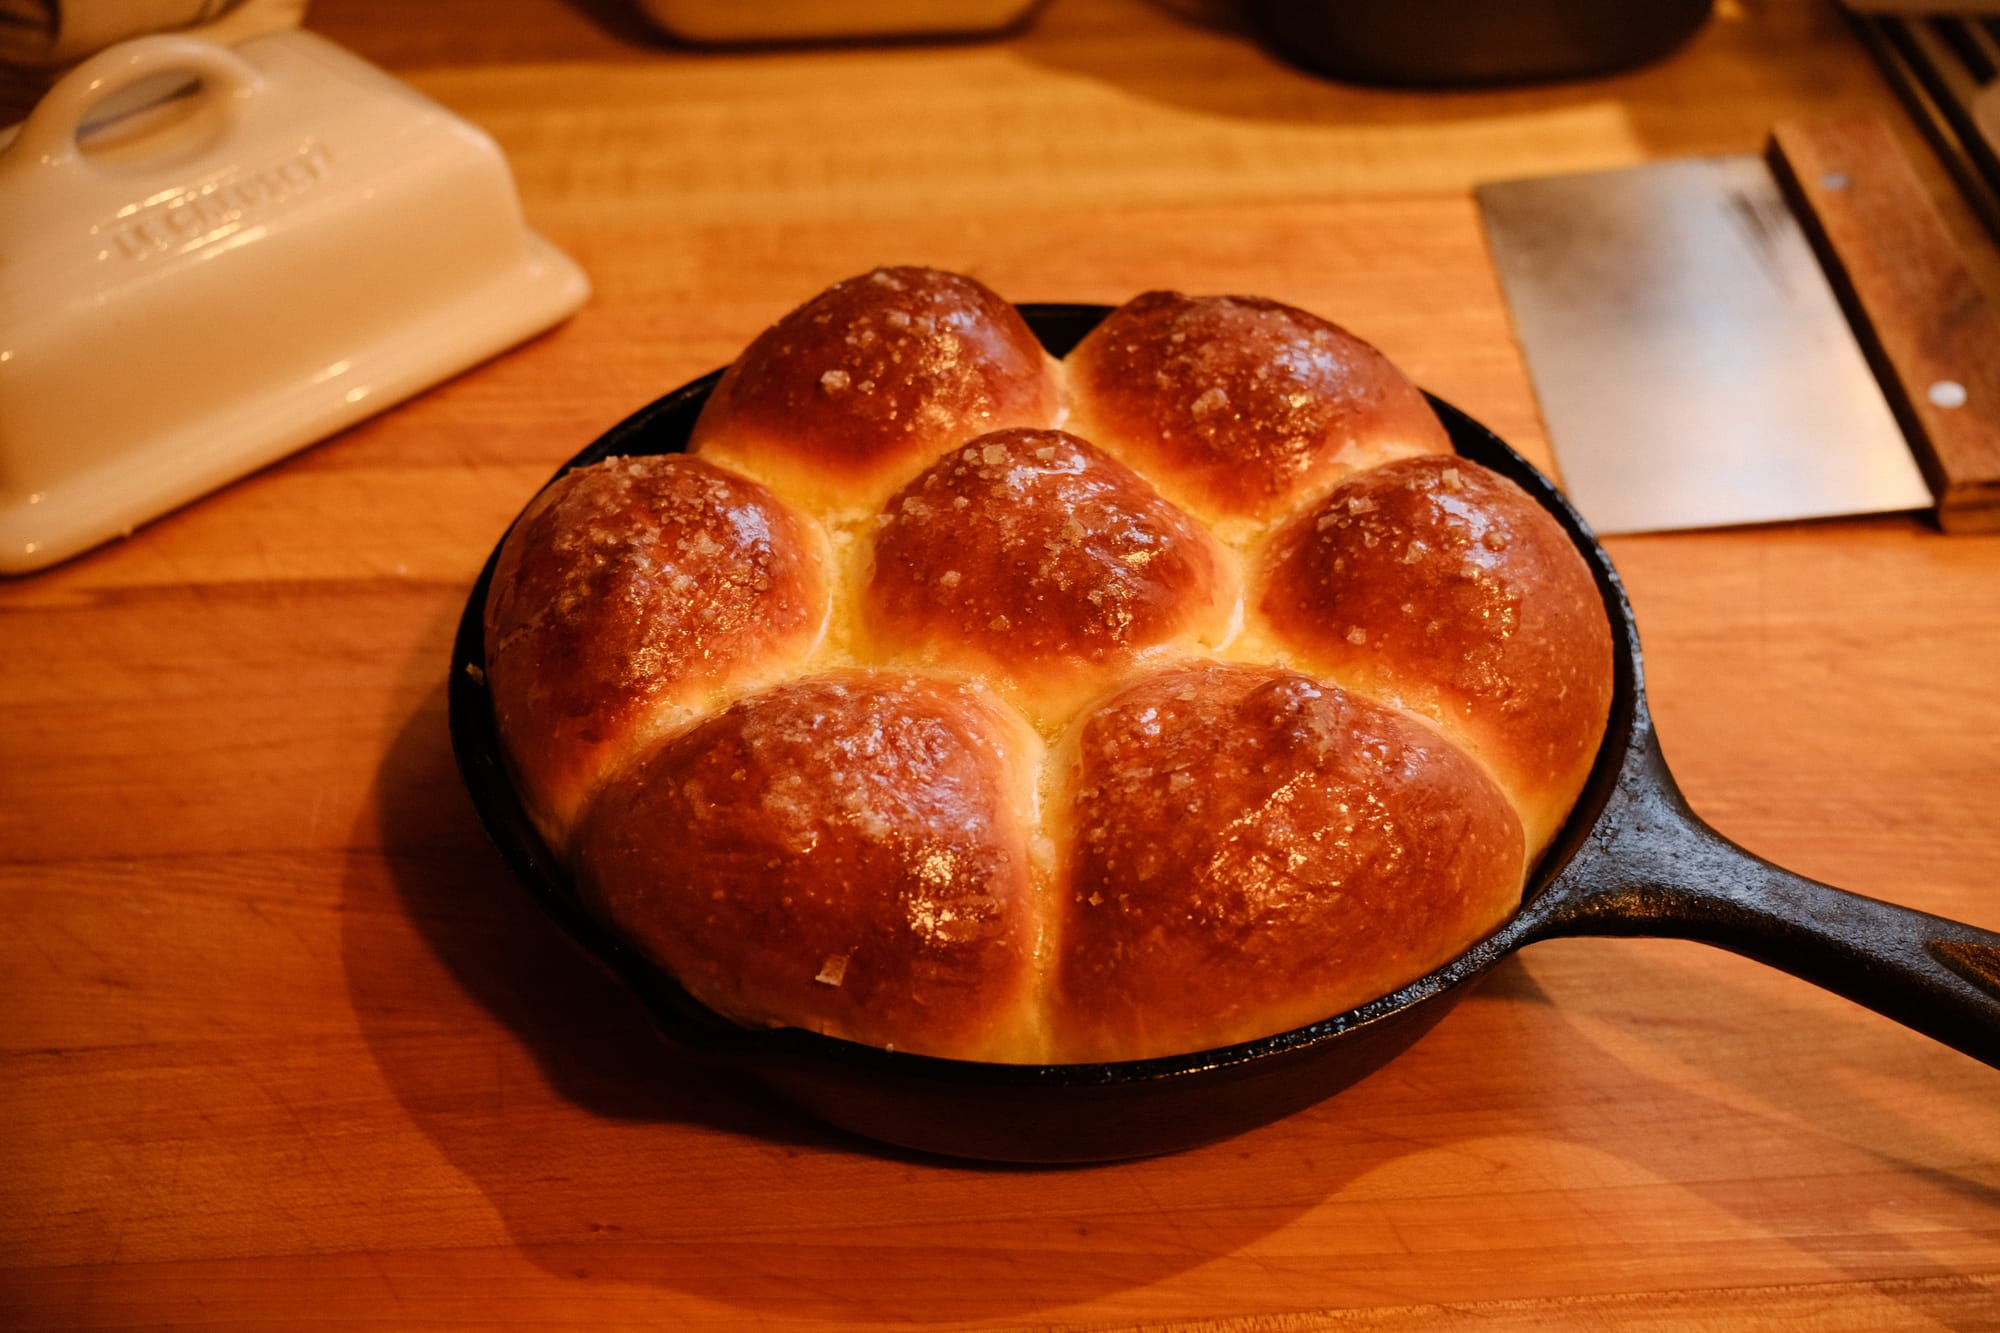
Cast Iron Dinner Rolls

Dinner rolls are one of those things that I absolutely love when I make them, but only actually make once or twice a year. It makes no sense. So, for 2024 I resolve to make more dinner rolls, and these Cast Iron Dinner Rolls are the perfect place to start.
If you do any amount of yeast bread baking, this recipe is pretty straightforward and should make a lot of sense. If you don't, just stick to the recipe and you'll come out the other side a better baker, with delicious rolls as a reward.
I tend to save this recipe for special occasions. But that was old Willy. There's nothing particularly fancy about these rolls, so there's no reason not to be making these all the time. And they are so much better than anything you'll buy at the store. So go ahead, add em' to the menu this weekend

dry, wet, mix, rest, shape, rest, brush, bake, boom
Recipe Notes
Did you know that you can use a thermometer to tell if your bread is fully cooked? For some types of bread, the old-fashioned "knock on the bottom" trick will work fine. But for soft breads and rolls like these, that won't work. Instead, insert an instant-read thermometer into the center of the bread and look for a temperature between 180-190F and you'll have perfectly cooked rolls.
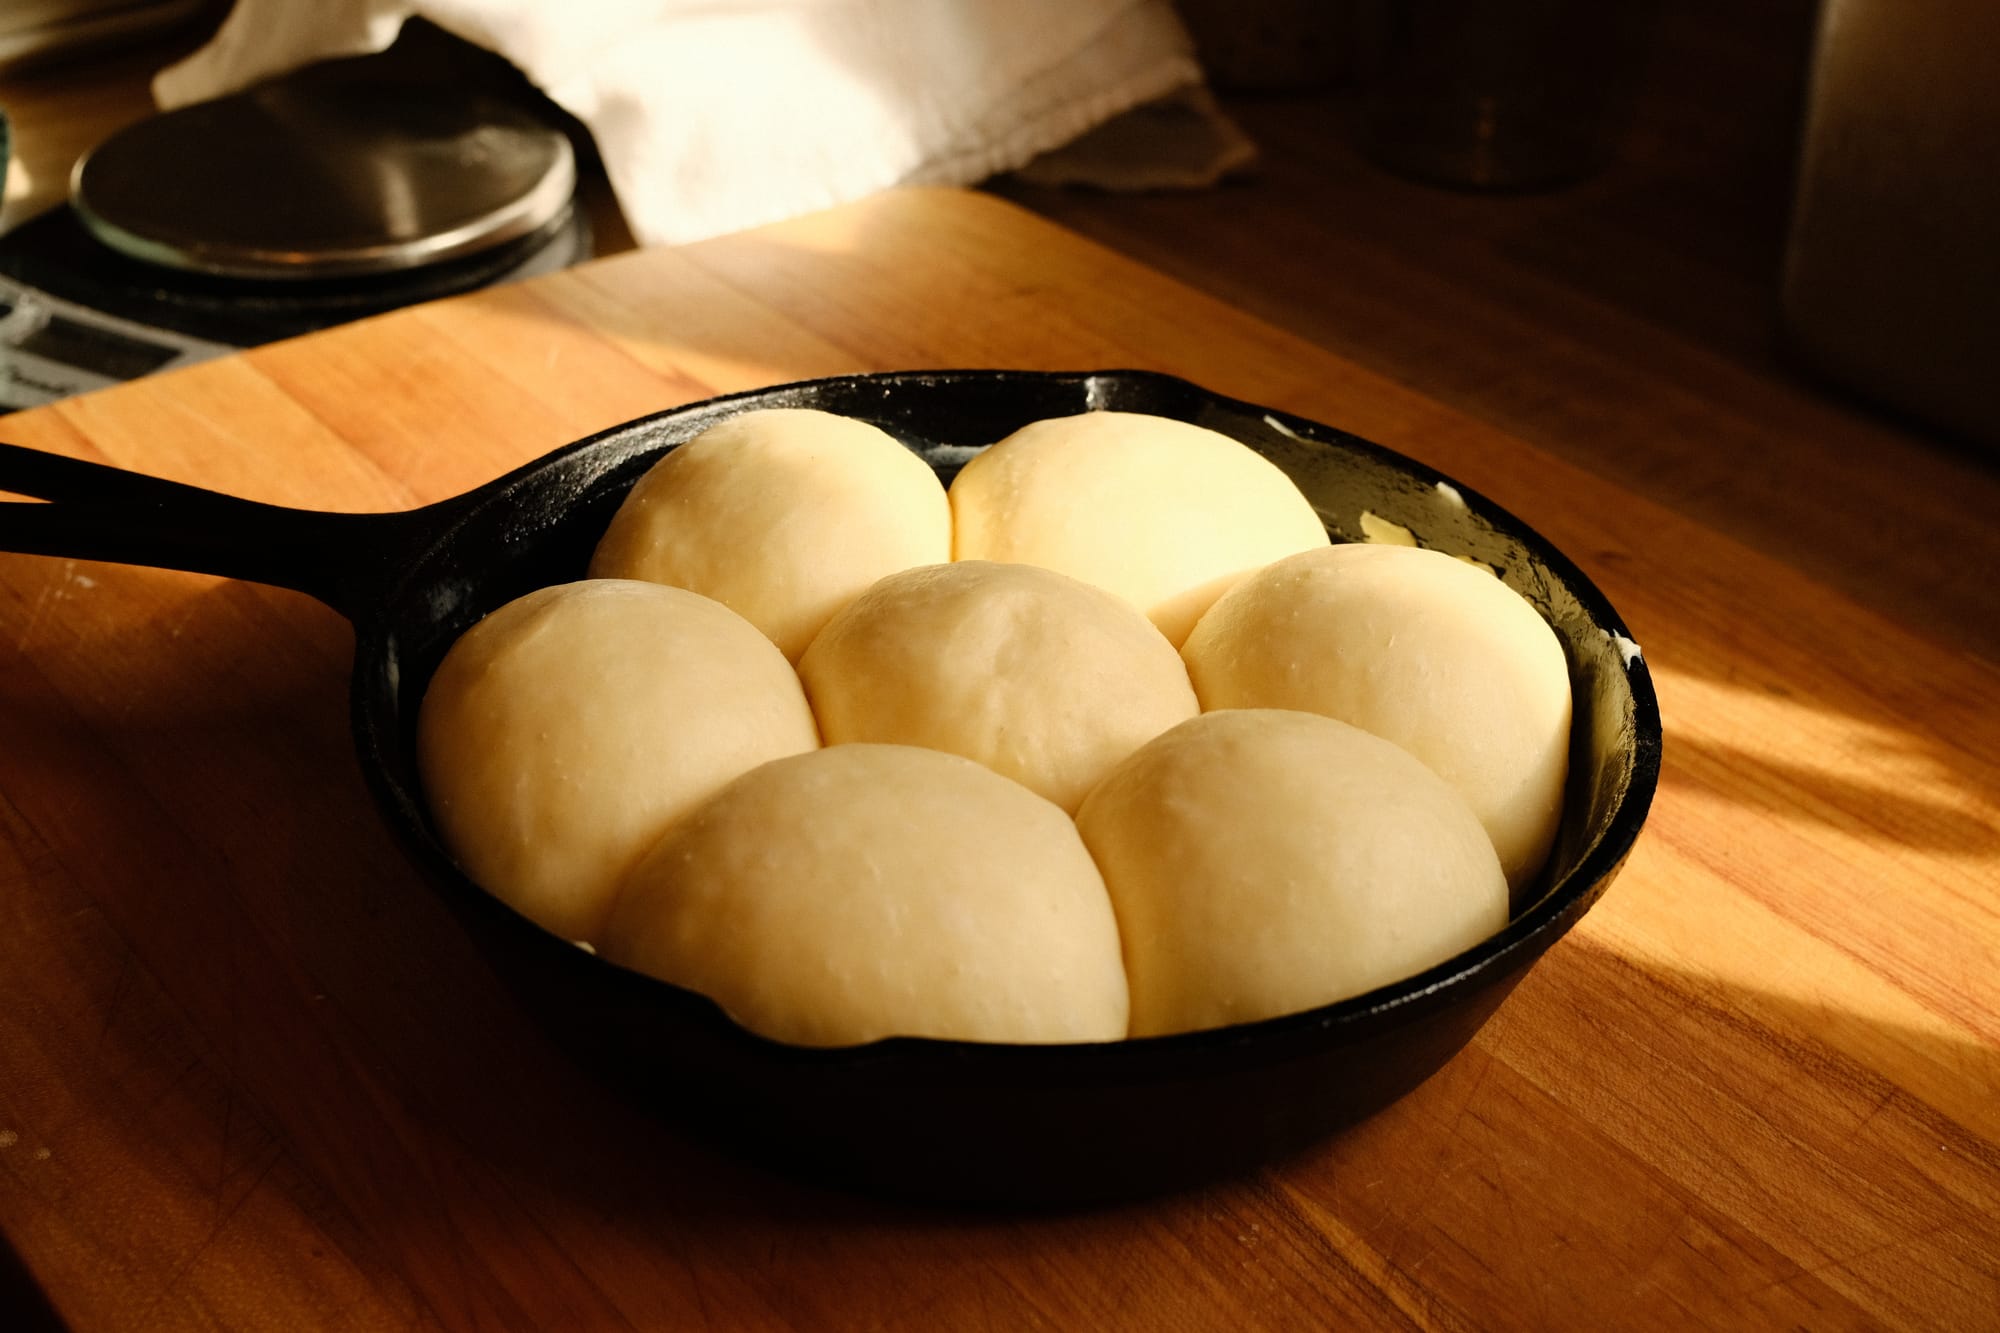
You don't have to use a cast iron pan for this recipe. But, if you have one, use it. It fits this recipe perfectly, and the whole thing looks great directly on the dinner table. However, an 8-inch cake pan should work just as well (though I've never tried it).
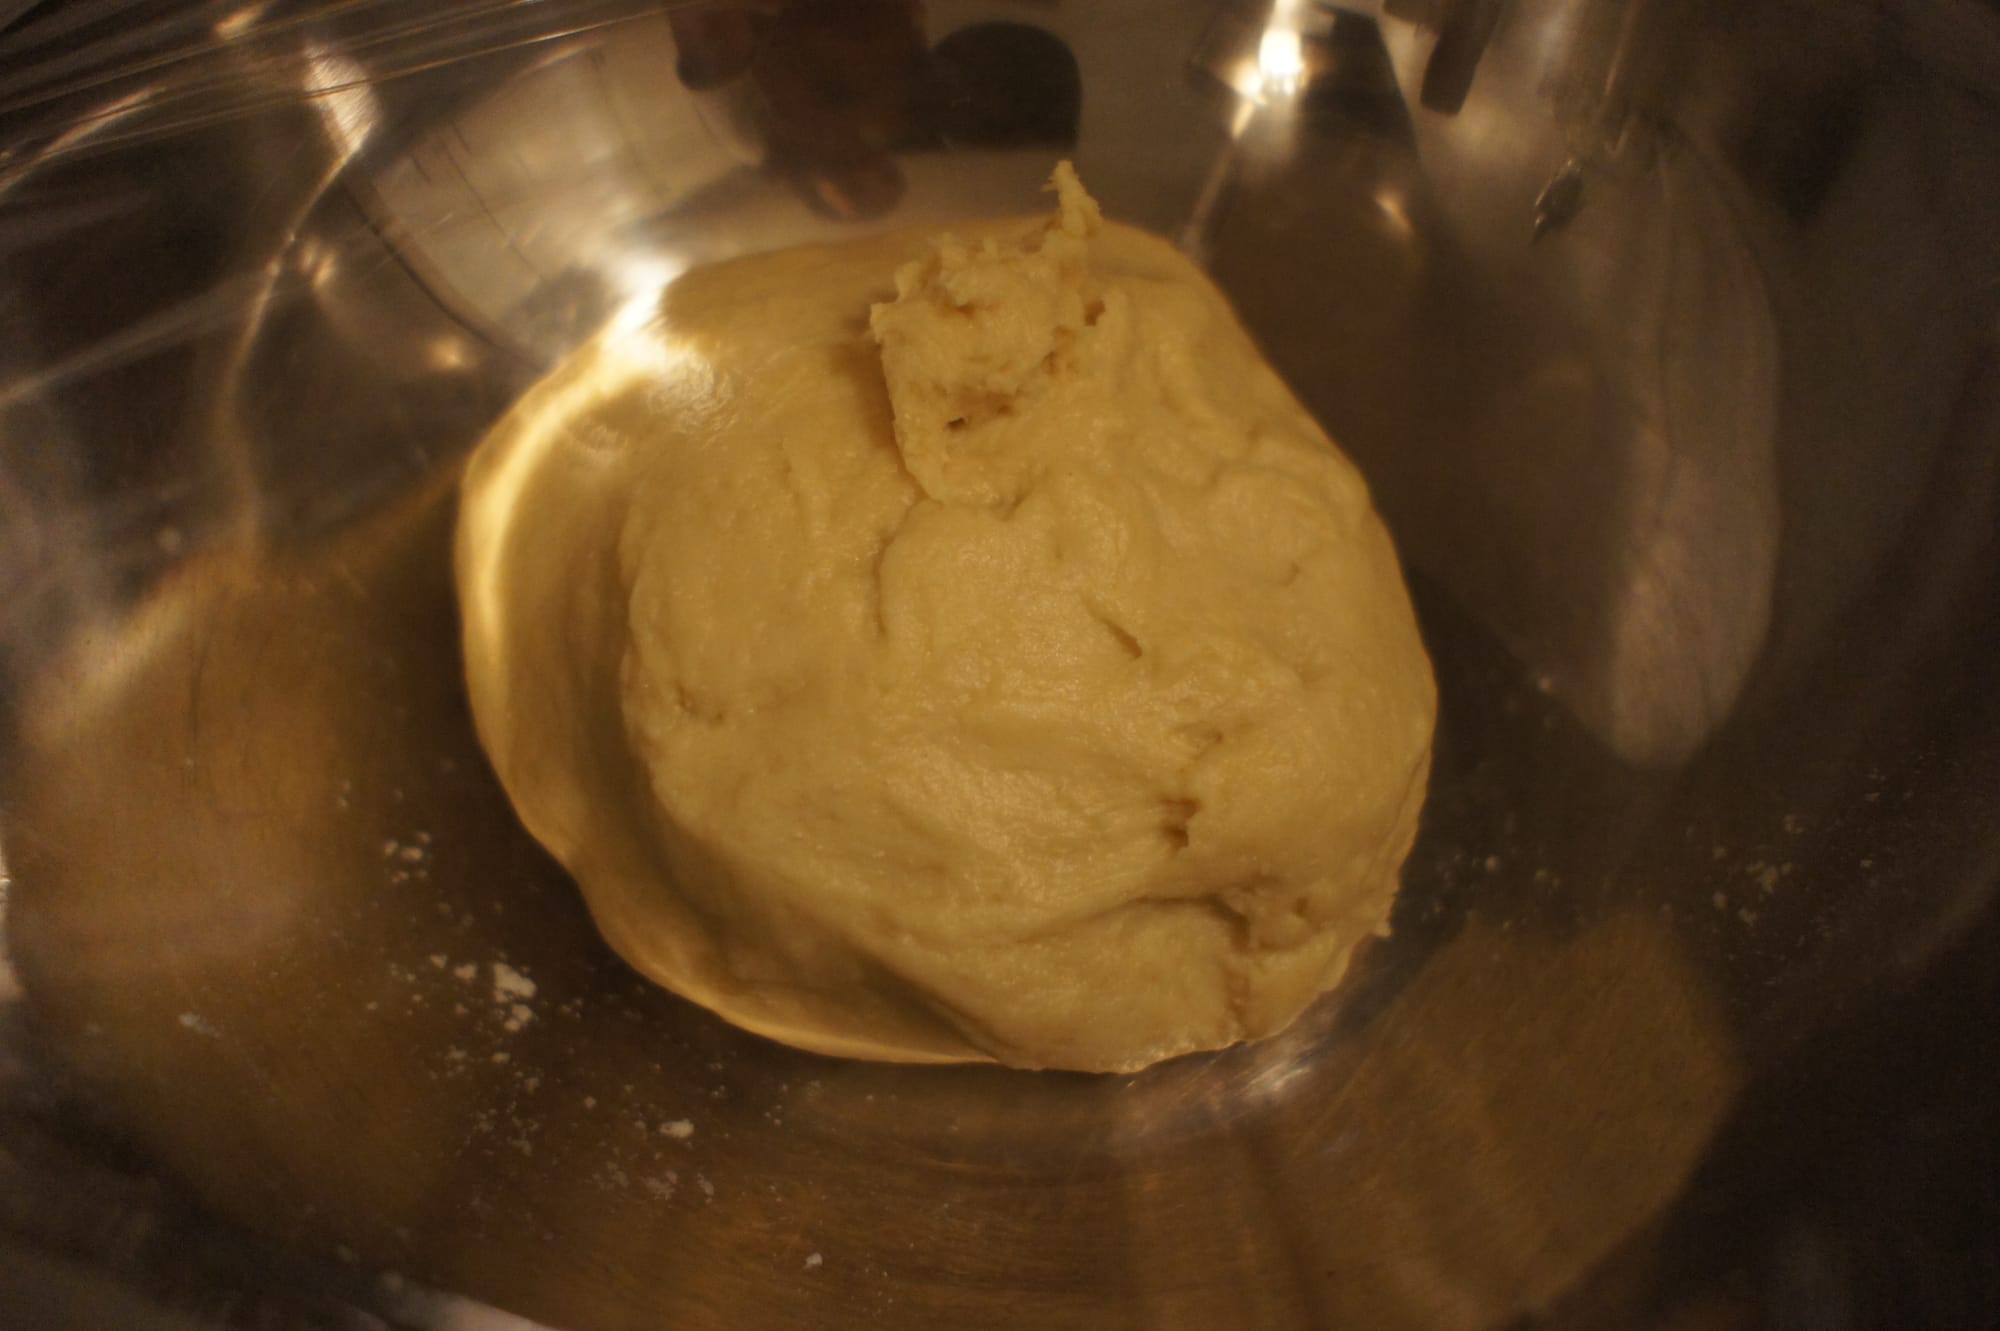
Gluten is one of the things that gives bread structure and provides a chewy texture. Mixing and agitating the dough is what develops and strengthens the gluten. In the recipe, it says to "mix to the improved gluten stage". You can check this by tearing off a piece of dough and gently stretching and pulling it between your hands to create a "window". You should be able to stretch the dough so that it is thin enough to become translucent before tearing.
Cast Iron Dinner Rolls
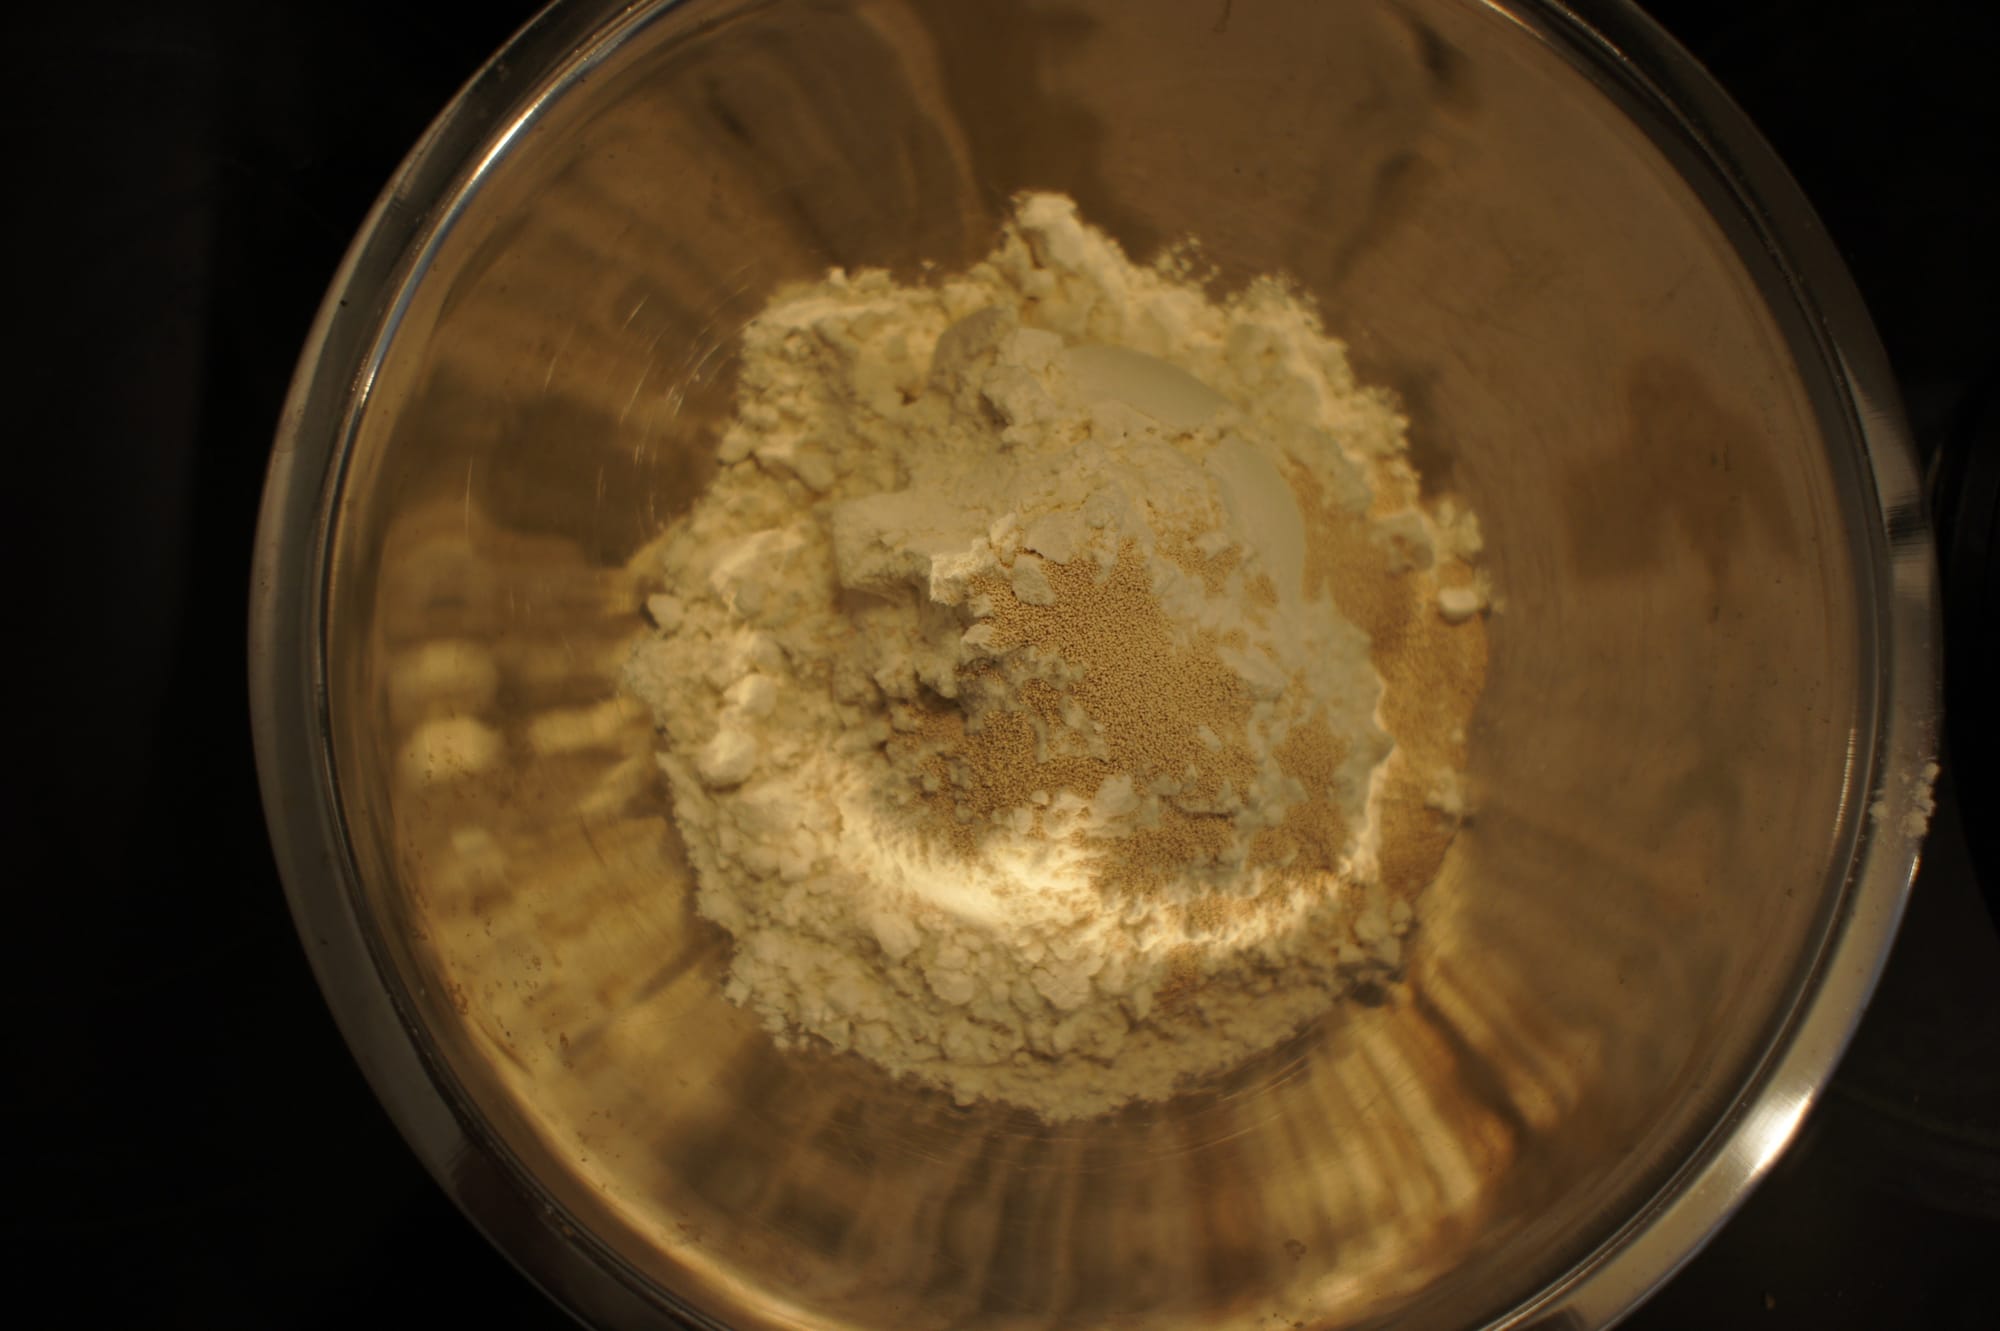
- 225g Bread Flour
- 3.5g Instant Yeast
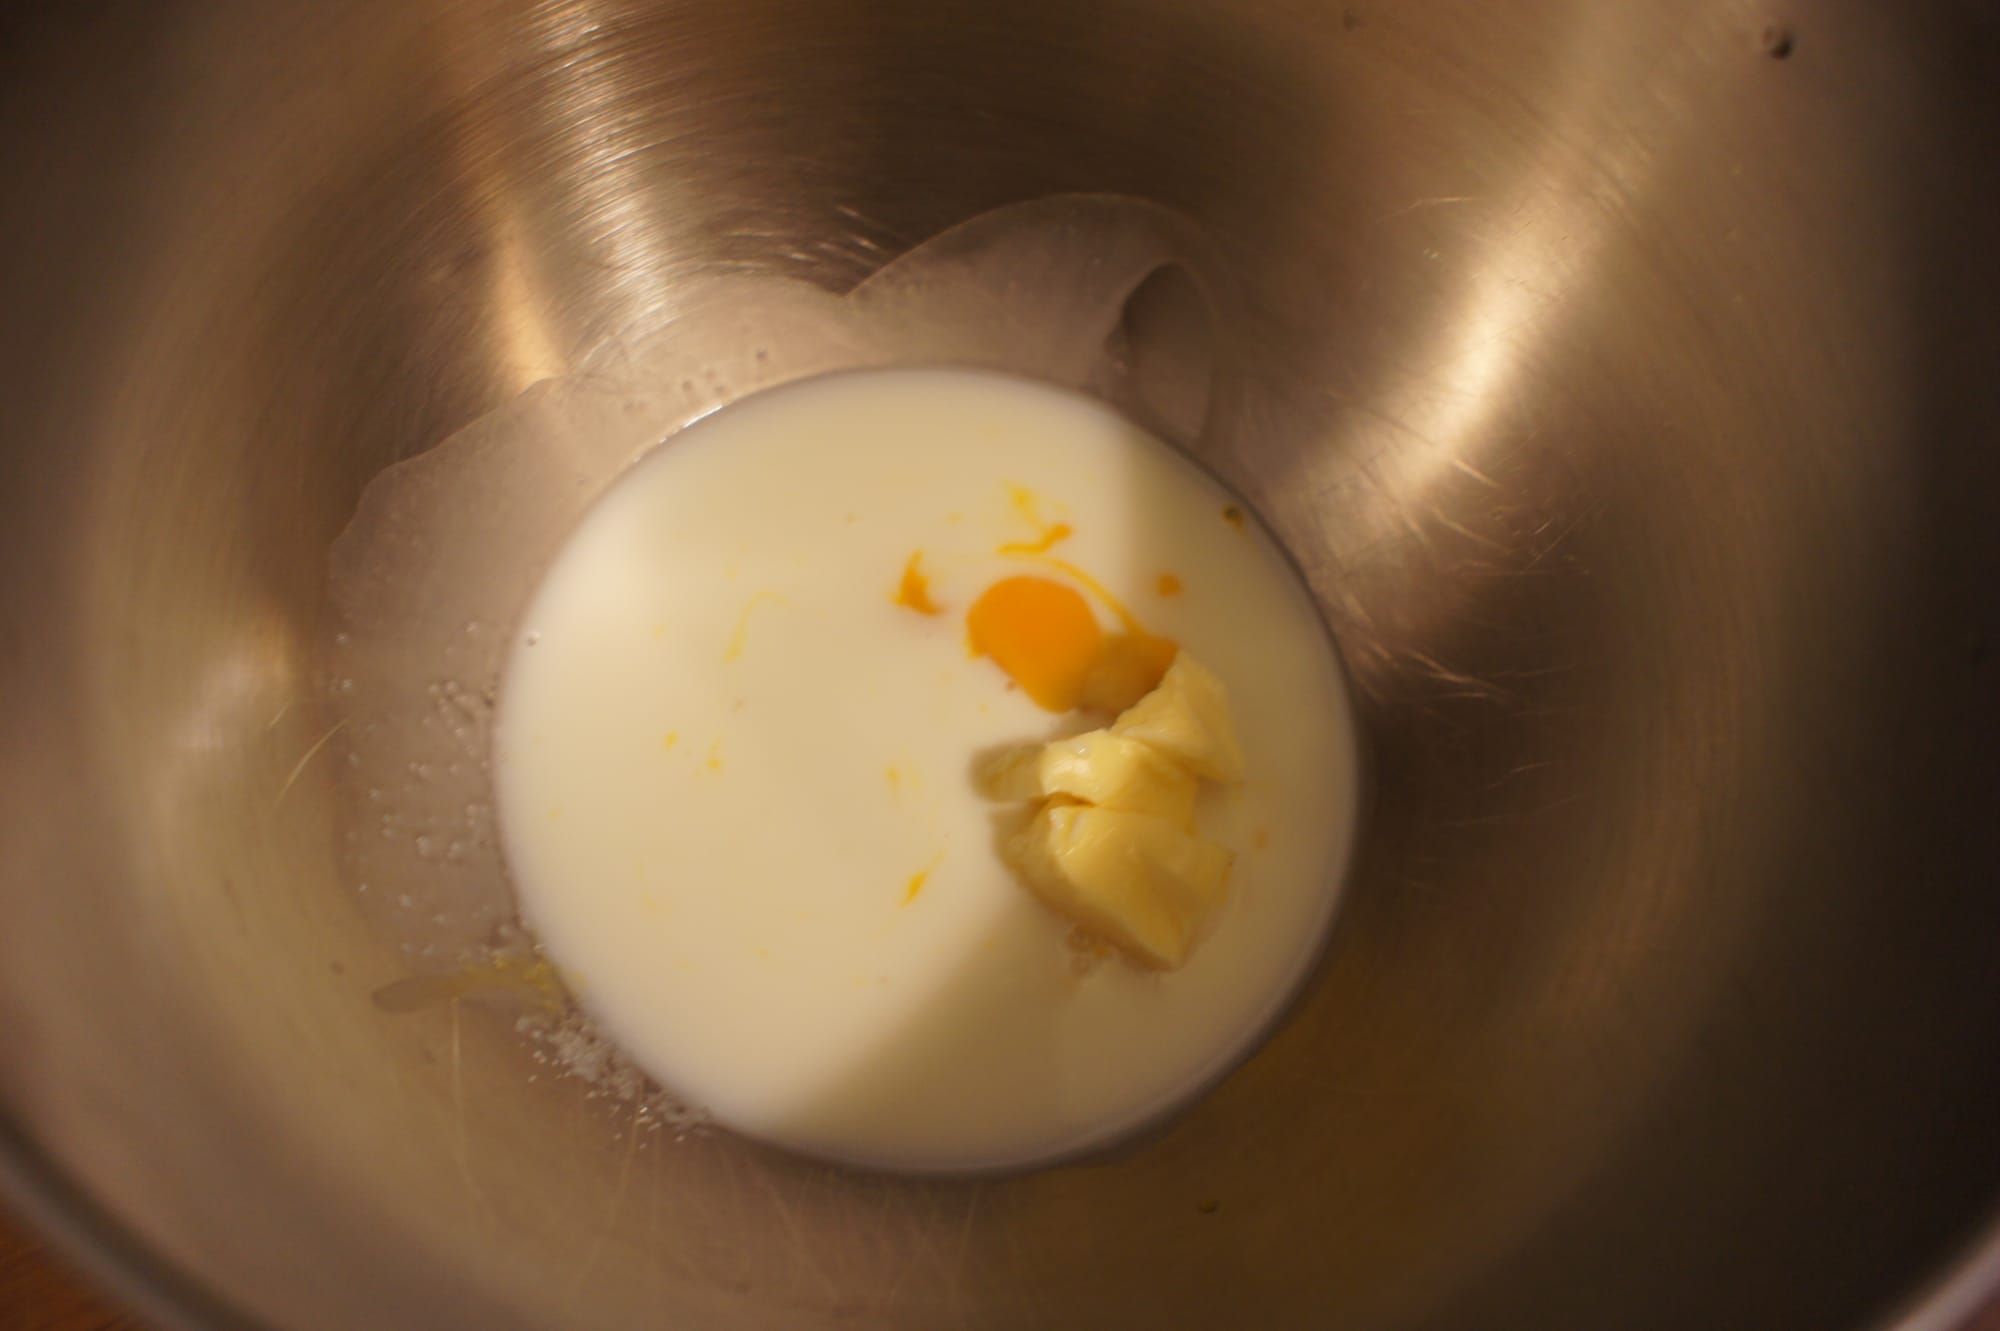
- 112g Milk, room temperature
- 1ea Large Egg, beaten and divided
- 22g Butter, soft (+ more for the pan and brushing the finished rolls)
- 22g Sugar
- 5g Kosher Salt
- Crunchy Salt
- In a stand mixer fitted with a dough hook, add flour and yeast and mix to combine.
- Add the remaining ingredients except for the crunchy salt and half of the egg (about 25g), and mix on low speed for 4 minutes. Scrape down the sides and bottom of the bowl to ensure everything is incorporated.
- Increase the speed to medium and mix for 3 minutes. Check for the improved gluten stage with the window pane test (see note ☝️).
- Form the dough into a ball, place in a bowl (I just use the same mixing bowl), and cover with plastic wrap or a damp towel. Leave to bulk ferment for about an hour or until doubled in size.
- Punch down the dough, reshape into a ball, cover, and rest for another 20 minutes.
- Divide the dough into 7 equal pieces (around 55-58g each).
- Shape each piece into a tight ball and place in a buttered, 8-inch cast iron pan (6 around and 1 in the center).
- Cover loosely with plastic wrap and proof for 45-60 minutes. The dough should spring back when gently pressed.
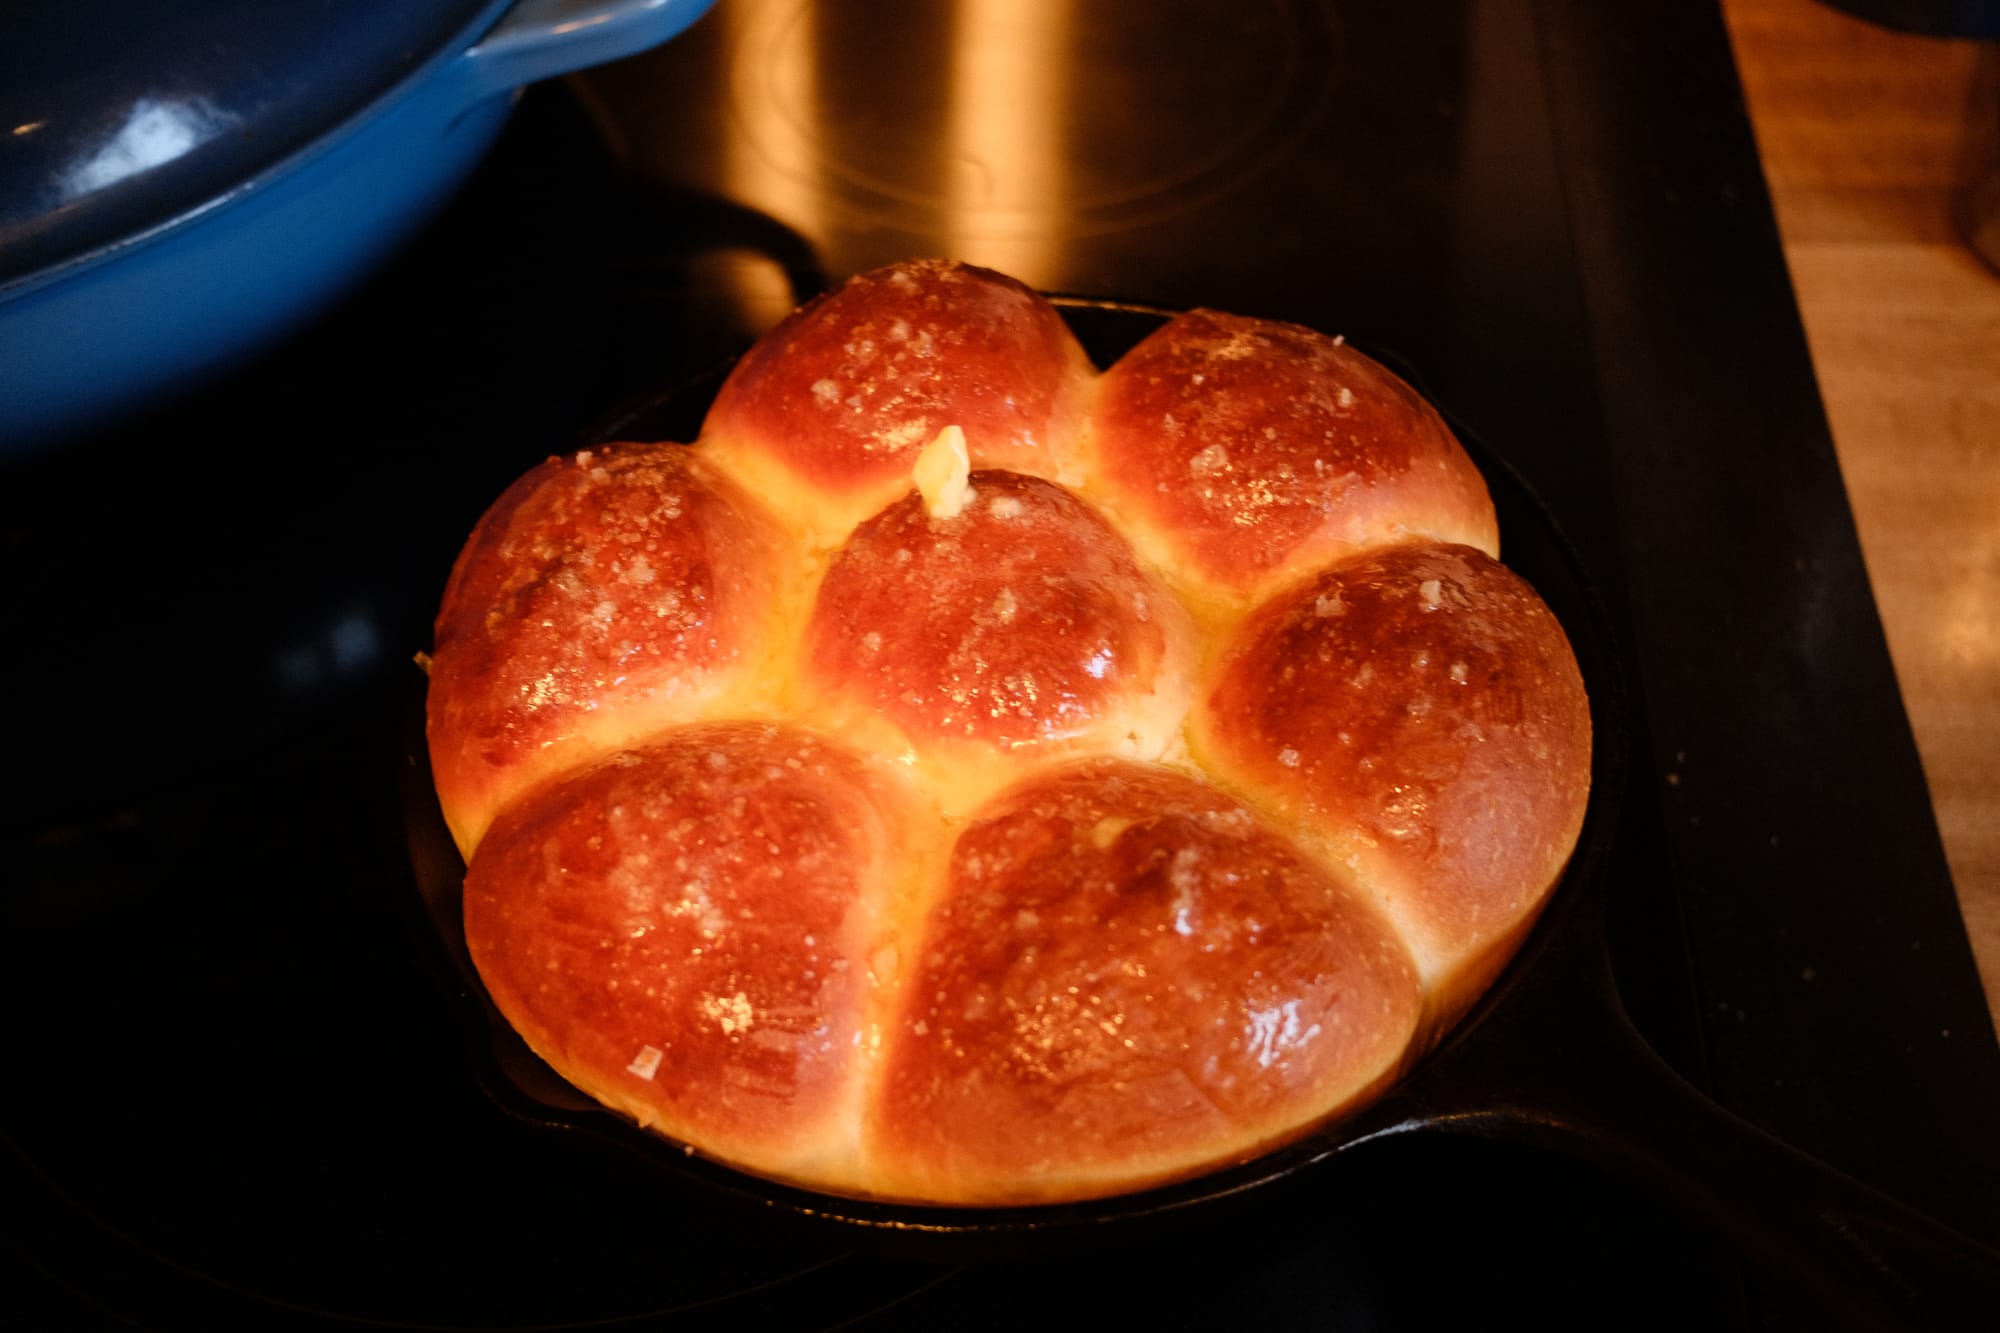
- Uncover and brush with egg wash made from the remaining half egg.
- Bake at 400F (or 375F convection) for approximately 15-22 minutes. They should be golden brown and have an internal temperature of 180-190F.
- When you remove the buns from the oven, brush generously with butter, sprinkle with crunchy/flakey salt, and enjoy warm.